Comments can be made at the end of this page . . . it is easy and I would like to know how you enjoy the blog. If it not against your nature, please identify yourself.
If you don't want to leave a public comment, send them directly to LeePickles@epbfi.com A left click on your mouse will give you a larger picture.
Bill Waldrop and I must be on the same greenhouse cover schedule. A couple weeks ago he had his re-covered, and Monday, I had ours re-covered. For the last couple years, I have not been able to maintain air between the two layers of cover because of small (and bigger) holes in the outer layer. After 5-6 years, the plastic becomes brittle and anything that touches it punctures holes. Also, age contributes to the weakening of the plastic and it gets "stress fractures." Here is the process:
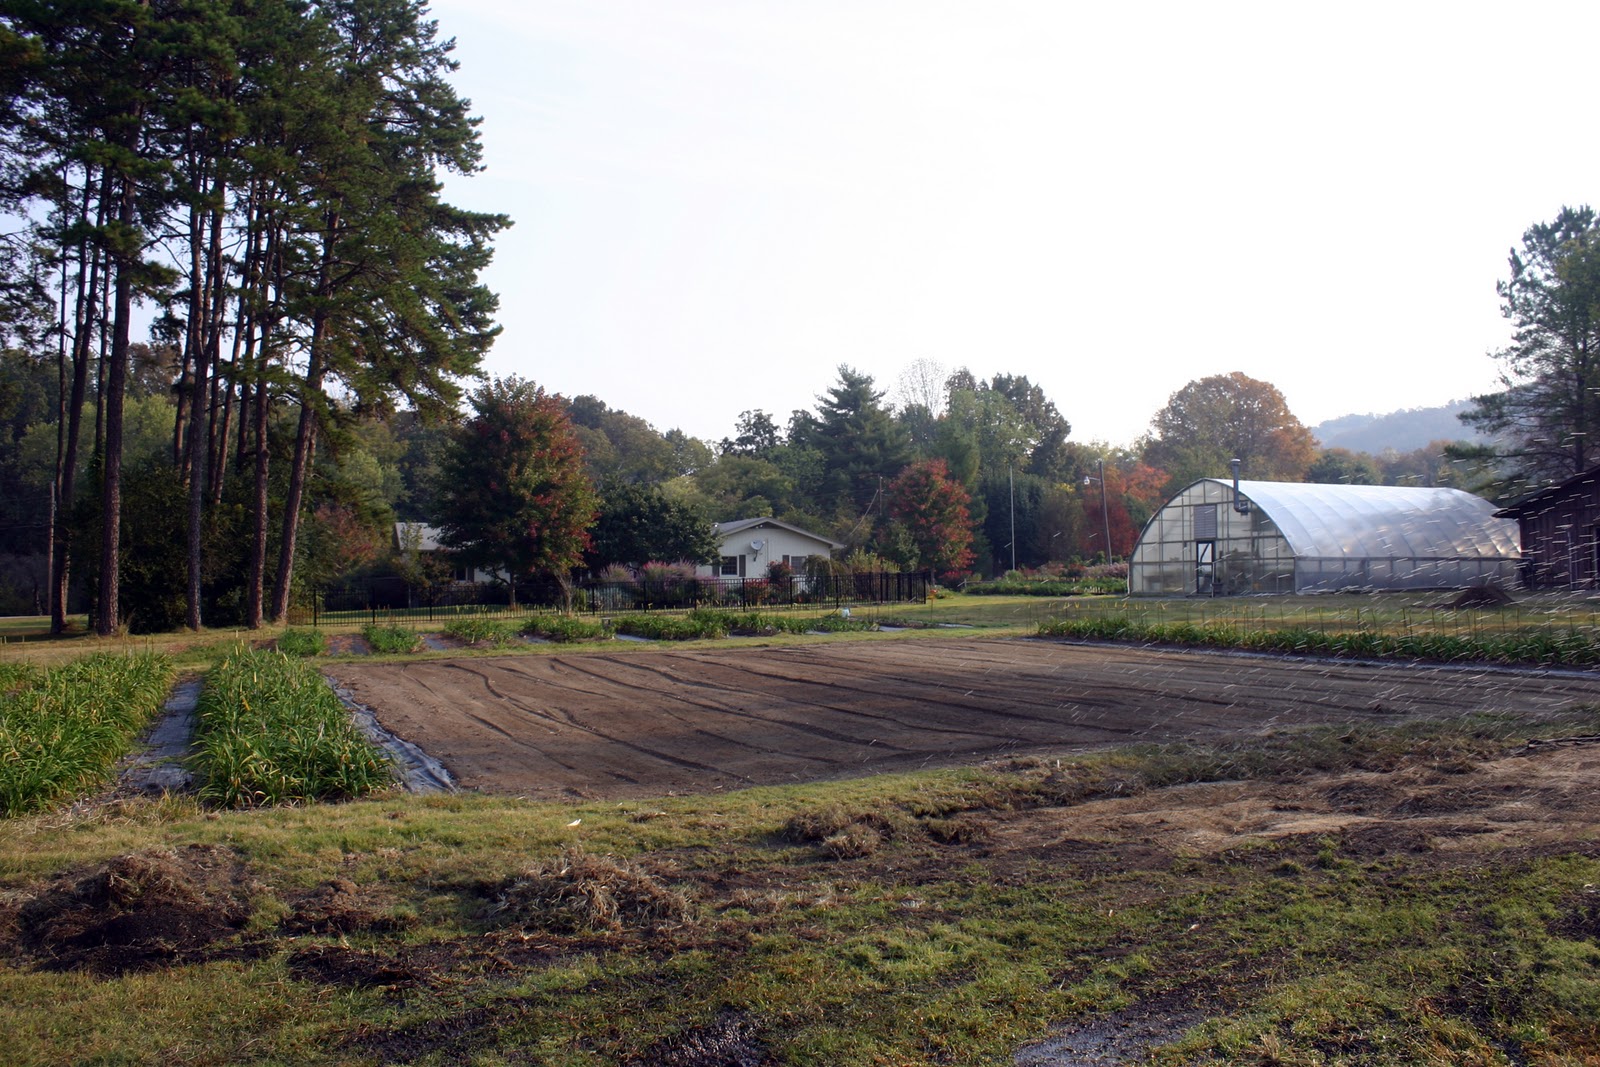
This is the greenhouse from a distance. I show this image because of the field that it is showing. I have tilled it with the Kubota and Woods tiller and leveled it with the bucket on the John Deere. It is ready to sow perennial rye grass and for transplanting daylilies next spring.
A crew arrived about 1:30 pm on Monday, October 18 to install a new cover on the greenhouse. Before they begin to install the new plastic, they remove the clips on each end of the greenhouse and allow the old cover to protect the new cover as it is installed. The plastic is 44 X 100' and comes folded on a roll about 12' wide. A steel bar is placed through the roll and each end rests on a ladder.
Two of the crew work on the end with the roll and feed the plastic up and over the crown of the greenhouse. At this point, they start unfolding the roll and the other two crew pull the ends of the plastic toward the far end.
Here you can see the crew pulling the plastic toward the far end. You can also see that the old cover is still in place to protect the new cover.
When they have the new cover pulled over the far end, they fold it over and start pulling the second layer over the first.
They are now straightening and evening the two edges of the cover.
They begin stretching between the two ends and the holding clips are put in place.
The old cover is then removed from under the new.
The cover is then stretched to the bottom and the retaining clips are added. Below is the finished greenhouse. They still need to return and pick up the old covering. This cover should be good for 5-6 years. The cost of the plastic and the labor was approximately $1,500.00. Cheap by any means for the amount of pleasure it returns.
Now is the time to start planning to attend the Daylily Hybridizer's Summit in Chattanooga (formerly the Myrtle Beach meeting) on December 3-5, 2010. For more information, contact: LeePickles@epbfi.com or David Kirchhoff at Hybridizer@aol.com.
Exciting things happen to those who hybridize daylilies!
Life is very, very good. Remember, when the bloom is gone, you still have your friends!
Comments can be made at the end of this page . . . it is easy and I would like to know how you enjoy the blog. If it not against your nature, please identify yourself. A left click on your mouse will give you a larger picture.
On my Sunday, August 29 blog I gave the recipe for using Essential Plus 1-0-1 for stimulating growth in daylily seedlings. Supposedly, it helps with earlier and a higher percentage of seed germination as well. If you want to see the whole story, along with the formula for mixing, see my blog of August 29, 2010. Here is a picture of the chemicals.
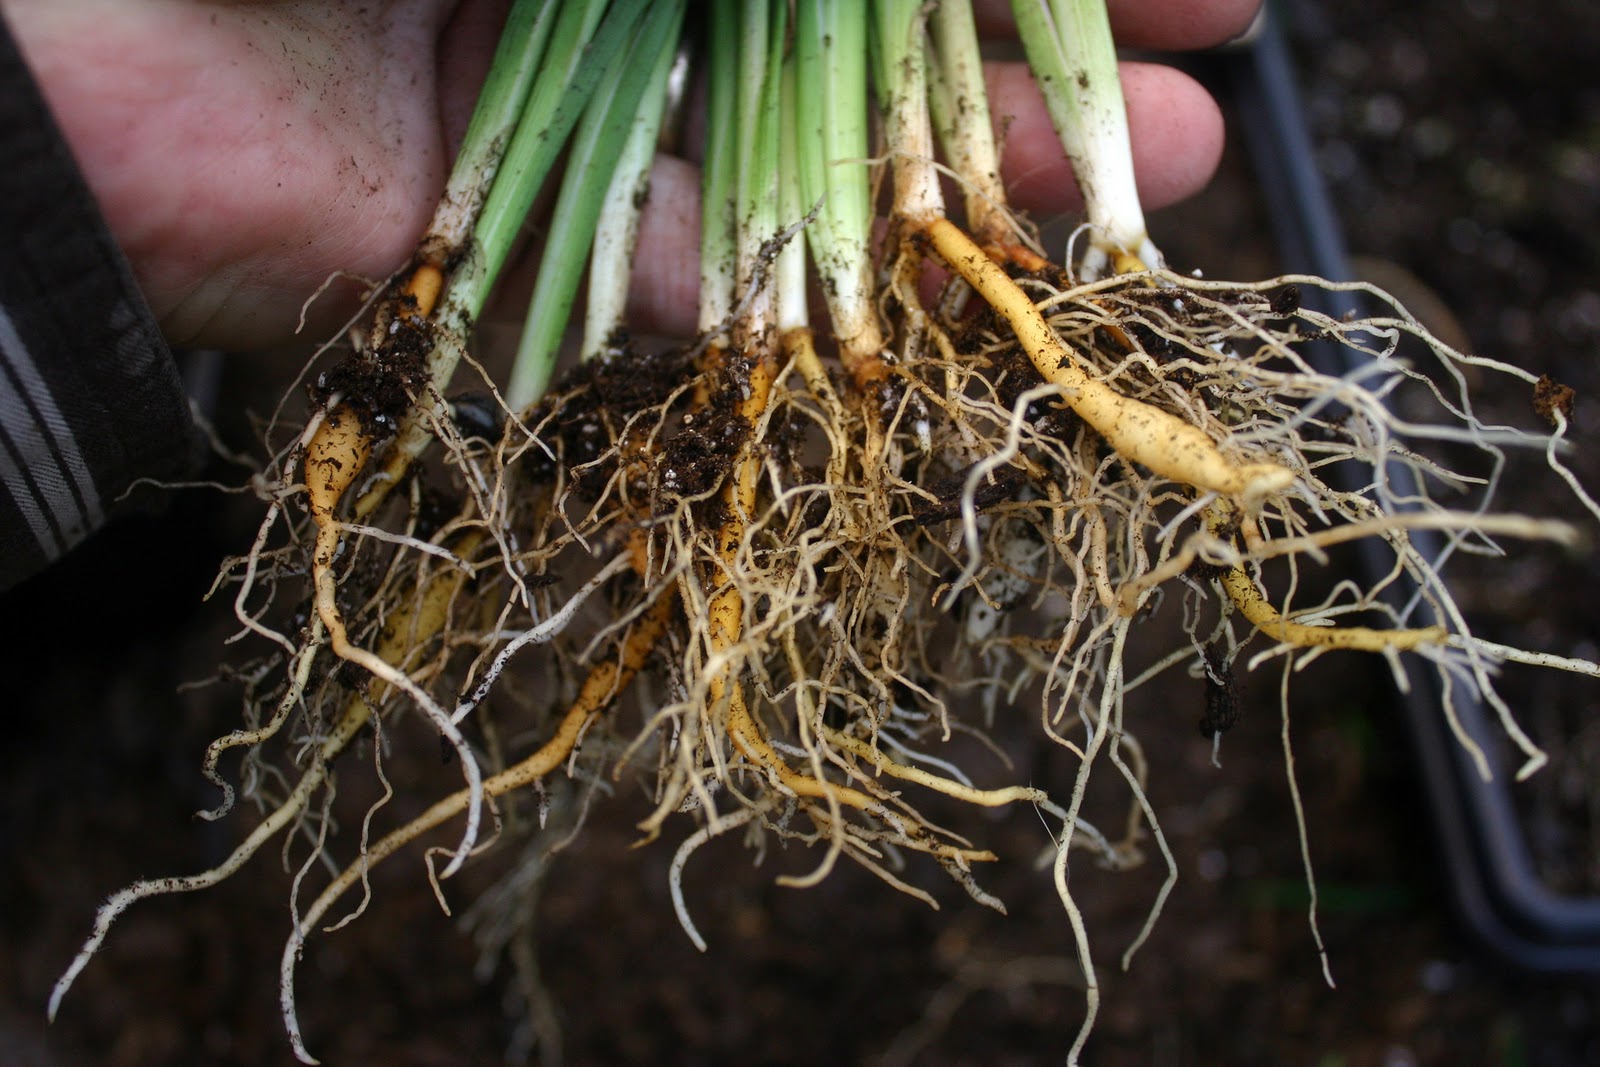
I am a real believer in the Essential Plus 1-0-1 concoction. I don't have a control group, nor do I have pictures of root systems at the same age without the formula . . . all I have is my experience, and it tells me that these root systems are much larger at 6 weeks than those of the past. Here is a typical 6 week seedling root system.
Or the root system on a single seedling.
One of the pleasures of hybridizing is watching the various stages of seedling growth, from the initial seed planting to the transplanting of the germinated seedlings, then the growth. In previous blogs, you have seen the seeds as planted in the greenhouse, and images of these trays as they have germinated and grown.
On July 29, I started planting seeds in the No. 1020 trays in the greenhouse. They germinated, they grew, and it became time to transplant into No. 38 Seed Trays. I started transplanting on September 12 and finished this morning, October 3. I ended with a total of 62 No. 38 Seed Trays with 2456 seedlings.
Above is a typical No. 38 Seed Tray. After the seedlings are planted, I sprinkle Marathon over the top for aphids, gnats, thrips, etc. They also get some Milorganite and Nutricote slow release fertilizer over the top.
Below is the first 36 trays line out on the growing bench. A frame is built and a plastic liner is added so I can grow in a water bath if I am going to be out of town for several days.
In addition to the No. 38 Seed Trays, I started some seeds in 2" X 2" X 3" peat pots to transfer to trade one gallon pots. The seeds were planted in August and transplanted to the one gallon pots in September, finishing on September 14. Here is a picture of one of the growing benches taken 10/3/2010. You can compare this with the picture taken on the September 10 blog to see the growth in 23 days.
Here is an up close picture of the same above seedlings. Nice growth isn't it? I ended up with 749 one gallon pots.
I do have a few more seeds that I would like to start in peat pots to transfer into the one gallon pots, so I may not be done yet. It is hoped that the seedlings planted in these pots will get enough growing time and be able to generate enough root mass to bloom this coming spring.
Now is the time to start planning to attend the Daylily Hybridizer's Summit in Chattanooga (formerly the Myrtle Beach meeting) on December 3-5, 2010. For more information, contact: LeePickles@epbfi.com or David Kirchhoff at Hybridizer@aol.com.
Exciting things happen to those who hybridize daylilies!
Life is very, very good. Remember, when the bloom is gone, you still have your friends!
Lee and Jean were born and raised in Iowa. They met in 1954 and were married in 1957. Both attended the Iowa State Teachers College (now the University of Northern Iowa) and graduated in 1962. Both accepted teaching jobs in Council Bluffs, IA where they lived until moving to Tennessee in 1974. Lee retired as an administrator in the Dean's office at the University of Tennessee College of Medicine. Jean retired from the classroom in 1999. They have two children, two grandchildren and currently live in Hixson, TN with their two dogs, Sara Jessie, a yellow lab, Spikey, a rescued mixed breed, and a Snow Shoe Siamese cat, Shiloh.